Intellinet 561686 Käyttöohje
Intellinet
Kytkin
561686
Lue alta 📖 käyttöohje suomeksi merkille Intellinet 561686 (12 sivua) kategoriassa Kytkin. Tämä opas oli hyödyllinen 9 henkilölle ja sai 4.5 tähden keskimäärin 2 käyttäjältä
Sivu 1/12

FAST ETHERNET
PoE+ SWITCH
INSTRUCTIONS
MODEL 561075
INT-561075-UM-ML1-0715-01
Important: Read before use. • Importante: Leer antes de usar.
intellinetnetwork.com

2
ENGLISH
Fast Ethernet PoE+ Switch English
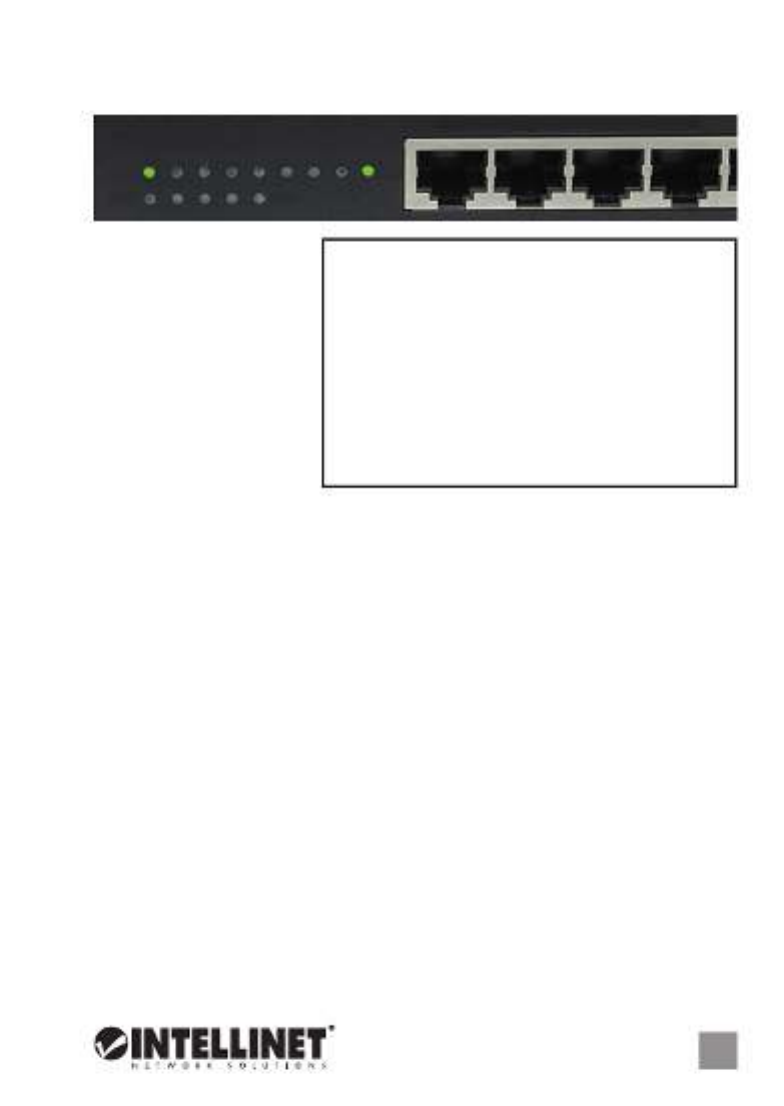
CONNECTIONS & INDICATORS
LEDs
The LED indicators — Power,
PoE, Link, Max — make it
easier to monitor the switch
and its connections. Note:
Only Ports 1-4 can provide
power to a connected device;
all powered devices should
also comply with IEEE 802.3af.
Ports
All ports on the switch support
Auto-MDI/MDI-X functionality,
so crossover cables and uplink ports are not needed for connections to PCs,
routers, hubs, other switches, etc. Cat5/5e/6 UTP/STP cables provide optimal
performance; if a status LED doesn’t indicate a link or activity, check the
corresponding device for proper setup and operation.
Power
Use the power cord to connect to an AC outlet and confirm that the power
LED is lit.
INSTALLATION
The switch includes brackets and screws for optional rack mounting:
1. Disconnect any cables from the switch.
2. Position a bracket over the mounting holes on one side of the switch and
secure it in place with screws (Page 11).
3. Repeat Step 2 on the other side of the switch.
4. Position the switch in the rack and screw the brackets to the rack.
5. Reconnect any cables.
Prior to use, it is recommended that the switch be placed/positioned on a level
surface with at least 25 mm (approx. 1”) of clearance for ventilation; away from
sources of electrical noise: radios, transmitters, broadband amplifiers, etc.; and
within 100 m (approx. 328’) of network devices it’s to be connected to.
For specifications, go to intellinetnetwork.com.
LED Status Operation
PWR On Power on
Off Check the AC connection; turn the power on
PoE On Port is linked to a PSE/PoE device
(Ports 1-4) Off No PSE/PoE device is linked
LNK On Valid port connection
Blinking Valid port connection; data transmitted/received
Off No link established
MAX On The combined power output of Ports 1-4 is at
the 70W maximum
Blinking The combined power output of Ports 1-4 has
exceeded the 70W maximum
Off The combined power output of Ports 1-4 is
below the 70W maximum
1 2 3 4
1 2 3 4 5 6 7 8
PoE MAX
PWR LNK
DEUTSCH 3
Fast Ethernet PoE+ Switch Deutsch
LED Status Operation
PWR An Gerät wird mit Strom versorgt
Aus Stromanschluss prüfen/Gerät einschalten
PoE An Port ist mit PSE/PoE-Gerät verbunden
(Ports 1-4) Aus Kein PSE/PoE-Gerät angeschlossen
LNK An Verbindung ist hergestellt
Blinkend Verbindung ist hergestellt; Datenübertragung
Aus Verbindung ist nicht hergestellt
MAX An Die kombinierte Ausgangsleistung der Ports 1-4 liegt
an der maximalen PoE-Kapazität von 70W
Blinkend Die kombinierte Ausgangsleistung der Ports 1-4 hat
die maximale PoE-Kapazität von 70W überschritten
Aus Die kombinierte Ausgangsleistung der Ports 1-4 liegt
unter der maximalen PoE-Kapazität von 70W
ANSCHLÜSSE & ANZEIGEN
LED-Anzeigen
Die LEDs — Strom, PoE,
Verbindung, Maximum —
vereinfachen das Ablesen
der Funktionen und
Anschlüsse. Hinweis:
Können nur die Ports 1-4
angeschlossene Geräte mit
Strom versorgen; diese
sollten mit IEEE 802.3af
kompatibel sein.
Ports
Alle Ports unterstützen Auto-MDI/MDI-X Funktionalität, daher werden Crosskabel
und Uplink-Ports für Verbindungen zu PCs, Routern, Hubs, anderen Switchen,
etc. nicht benötigt. Cat5/5e/6 UTP/STP-Kabel bieten die beste Performance.
Wenn eine LED keine Verbindung/Aktivität anzeigt, überprüfen Sie das
verbundene Gerät.
Strom
Schließen Sie das beiliegende Stromkabel an das Gerät (auf der Rückseite) und
an eine Steckdose an. Vergewissern Sie sich dass die “Power”-LED aufleuchtet.
INSTALLATION
Diesem Switch liegen Haltewinkel und Schrauben für optionale Rackmontage bei:
1. Trennen Sie alle Kabel von dem Switch.
2.
Platzieren Sie einen Haltewinkel über den Montagelöchern auf einer Seite des
Switches und fixieren Sie ihn mit Schrauben
(Seite 11)
.
3. Wiederholen Sie Schritt 2 auf der anderen Seite des Switches.
4. Platzieren Sie den Switch in dem Rack und schrauben Sie die Haltewinkel fest.
5. Schließen Sie alle Kabel wieder an.
Es wird empfohlen, den Switch vor der Nutzung folgendermaßen aufzustellen
auf ebenem Untergrund mit mind. 25 mm Rundumabstand für ausreichend
Luftdurchsatz; fern von anderen Übertragungsgeräten wie Radio, Breitband-
verstärker, etc.; und max. 100 m vom zu verbindenden Netzwerkgerät entfernt.
Die Spezifikationen finden Sie auf intellinetnetwork.com.
1 2 3 4
1 2 3 4 5 6 7 8
PoE MAX
PWR LNK
Tuotetiedot
| Merkki: | Intellinet |
| Kategoria: | Kytkin |
| Malli: | 561686 |
Tarvitsetko apua?
Jos tarvitset apua merkille Intellinet 561686 esitä kysymys alla ja muut käyttäjät vastaavat sinulle
Kytkin Intellinet Käyttöohjeet

15 Tammikuuta 2025
15 Tammikuuta 2025
15 Tammikuuta 2025
11 Tammikuuta 2025
11 Tammikuuta 2025
11 Tammikuuta 2025
11 Tammikuuta 2025
11 Tammikuuta 2025
11 Tammikuuta 2025
5 Tammikuuta 2025
Kytkin Käyttöohjeet
- Kytkin ORNO
- Kytkin D-Link
- Kytkin Apc
- Kytkin EBERLE
- Kytkin Lancom
- Kytkin IFM
- Kytkin TP Link
- Kytkin Totolink
- Kytkin StarTech.com
- Kytkin Yamaha
- Kytkin Cudy
- Kytkin Extron
- Kytkin Lindy
- Kytkin Netgear
- Kytkin Ecler
- Kytkin Digitus
- Kytkin Panasonic
- Kytkin LevelOne
- Kytkin Schneider
- Kytkin Engenius
- Kytkin EMOS
- Kytkin CyberPower
- Kytkin CSL
- Kytkin Smart-AVI
- Kytkin Generac
- Kytkin Dahua Technology
- Kytkin Cambium Networks
- Kytkin Sonance
- Kytkin Planet
- Kytkin PCE
- Kytkin Hikvision
- Kytkin Equip
- Kytkin Intermatic
- Kytkin Mikrotik
- Kytkin Speaka
- Kytkin Nedis
- Kytkin Alcatel
- Kytkin Elation
- Kytkin Logilink
- Kytkin Leviton
- Kytkin Advantech
- Kytkin Atlona
- Kytkin Jung
- Kytkin Robbe
- Kytkin Luxul
- Kytkin Crestron
- Kytkin INOGENI
- Kytkin Elektrobock
- Kytkin PureLink
- Kytkin Kramer
- Kytkin ATen
- Kytkin Blustream
- Kytkin Theben
- Kytkin Vemer
- Kytkin Fantini Cosmi
- Kytkin WHALE
- Kytkin Tenda
- Kytkin Suevia
- Kytkin ZyXEL
- Kytkin Homematic IP
- Kytkin Vimar
- Kytkin Setti+
- Kytkin Trendnet
- Kytkin IOGEAR
- Kytkin Hager
- Kytkin Kathrein
- Kytkin Alfatron
- Kytkin DEHN
- Kytkin Berker
- Kytkin Kaiser
- Kytkin Adder
- Kytkin Hamlet
- Kytkin Finder
- Kytkin Brilliant
- Kytkin Roline
- Kytkin HELGI
- Kytkin QNAP
- Kytkin DoorBird
- Kytkin Ebara
- Kytkin Rex
- Kytkin Juniper
- Kytkin Airlive
- Kytkin PureTools
Viimeisimmät Kytkin Käyttöohjeet
9 Huhtikuuta 2025
5 Huhtikuuta 2025
4 Huhtikuuta 2025
4 Huhtikuuta 2025
4 Huhtikuuta 2025
3 Huhtikuuta 2025
3 Huhtikuuta 2025
2 Huhtikuuta 2025
1 Huhtikuuta 2025
1 Huhtikuuta 2025